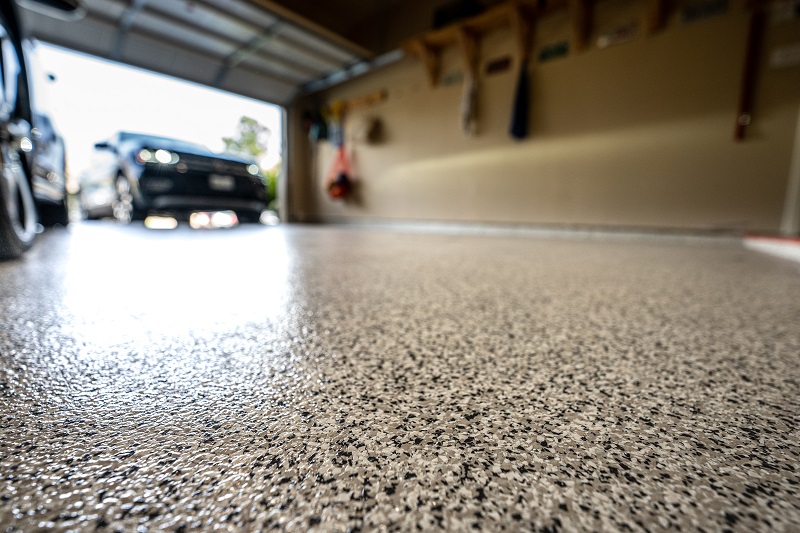
Isn’t it incredible how much the appearance of your garage can lift when you revamp its floor? And isn’t it also fantastic when this facelift simultaneously offers functionality, durability, and a surprisingly easy cleaning process? If this has sparked your interest, then you’ve likely been contemplating the installation of epoxy flooring in your garage. A diamond in the rough of the flooring world, epoxy presents a high-gloss, attractive finish, seamlessly blending aesthetics and utility. An antidote to oil spots, motor fluid drips, and other common garage stains, it’s no wonder epoxy has risen significantly in popularity in recent years. So, let’s delve into how you can achieve a dazzling garage upgrade by installing epoxy floors yourself.
Why Choose Epoxy for Garage Floors?
Epoxy is your secret weapon for transforming gloomy and stained garage floors into attractive and resistant surfaces. However, its virtues are more than skin deep. Offering an unwavering durability, epoxy floors can easily withstand the heavy weight of vehicles and resist shocks from dropped tools; two inevitable realities of garage life. Moreover, epoxy is nonporous, making it impervious to water and many other substances. Gone are the days of laboriously scrubbing stains from your garage floor; with epoxy, your household detergent will easily do the trick.
What You Need to Install Epoxy Floors
Ready to roll up your sleeves and dive in? First things first, let’s gather the necessary materials. You’ll need epoxy floor coating, cleaner, a scrub brush, gloves, epoxy paint, and a paint roller. And don’t overlook the importance of donning safety glasses, a mask, and other personal protective equipment (PPE). With everything assembled, you can prepare for the actual task of installation.
Preparing Your Garage for the Epoxy Floor
Building a house on shaky ground is futile, and the same principle applies to epoxy floors – a prepared setting is paramount. Start by giving your garage a thorough clean – sweep and vacuum to banish all dust and grime. Follow this with a wash using a concrete degreaser and etch the floor with a solution of water and muriatic acid. This is vital as it helps to open the pores of the concrete, enhancing the bond between the surface and epoxy. The acid should bubble on the floor; this is a positive sign indicating the process is effective. Rinse thoroughly after etching and let the floor dry for at least 24 hours.
Applying the Epoxy Floor Coating
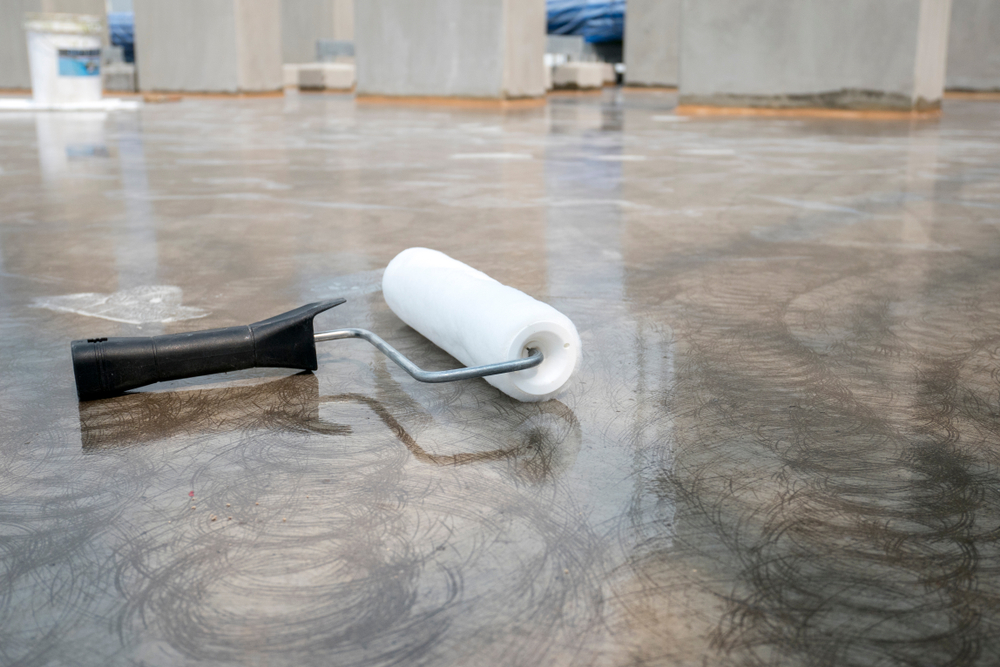
The moment has come to bid farewell to the drab concrete floor and welcome the glossy, vibrant epoxy. Begin by giving your epoxy coating a hearty mix – it should have the consistency resembling house paint. Using your paint roller, start applying the coating in clean, even strokes, ensuring you capture every square inch of your garage floor. Once coated, let the epoxy dry. This usually takes between 12 to 24 hours, and you want the epoxy to cure absolutely before moving ahead.
Adding a Second Coat
If you’ve allowed the necessary curing time, you can now apply the second coat of epoxy. Remember patience is key. It’s crucial to let each layer sufficiently dry to prevent tacky floors. The second layer of epoxy resolves any inconsistencies and ensures a robust, even finish. Following the application of this layer, let your newly coated floor rest for at least 24 more hours.
The Pros and Cons of Epoxy Flooring
Before you get completely swept away by the undeniable appeal of epoxy floors, it’s important to weigh up the pros and cons. On the plus side, epoxy is stunning, sturdy, resistant to abrasion, and offers a moisture-proof surface. On the downside, its striking gloss can contribute to a slippery surface when wet, and without due care in its application, epoxy can peel.
Conclusion:
Installing an epoxy floor can be a transformative upgrade for your garage. Beyond its aesthetic appeal, it offers incredible durability and simplifies the cleaning process immensely. Nevertheless, it is essential to approach the task with meticulous preparation to reap the full benefits. Remember, patience is key when applying layers! By following this comprehensive guide step-by-step, you are on the path to transforming your garage from a ho-hum storage area to an attractive, functional space that extends the personality of your home.